How to set up email on an Android phone or tablet
Gmail comes pre-installed on your Android device, allowing you to easily set up various email service providers like Google, Yahoo, Outlook, and more.
Setting up your email on your mobile device offers the convenience of checking emails on your Android phone or tablet, along with automatic notifications for new arrivals. This functionality is akin to receiving notifications for SMS or messages on WhatsApp.
Whether you have a personal email account with Google, Yahoo, Outlook, or another provider, or a business account on a dedicated server, this tutorial will walk you through the process of setting up your email account using the Gmail app.
Understanding Email Clients
In essence, an email client refers to a web, desktop, or mobile application designed for receiving, sending, and managing emails, including tasks like searching, archiving, deleting, setting up signatures, and modifying account information.
When configuring an email account in an email client application, the crucial consideration is the email protocol, responsible for communication with the email service provider.
The primary email protocols offered by most email client applications include:
- POP (Post Office Protocol): POP facilitates one-way email retrieval from the server to the email client, without synchronization between the client and the server. Emails are moved from the server to the local email client, leaving the only copy on the device where the email client resides.
- IMAP (Internet Message Access Protocol): IMAP enables email retrieval and storage with synchronization between the email server and the email clients. Emails from the server are copied and synchronized into the client’s account.
- SMTP (Simple Mail Transfer Protocol): SMTP allows for sending emails from the email client through a designated server.
Setting Up Email Accounts on Your Phone/Tablet for Google, Yahoo, Outlook, Hotmail, Live, or Exchange
-
Launch the Gmail app (Google Mail).
If you can’t find it in your list of installed apps, use the search function within the app list to locate it.
If the app isn’t installed on your device, you can install Gmail from the Google Play Store.
-
Within the Gmail app, select the option to set up a new email account.
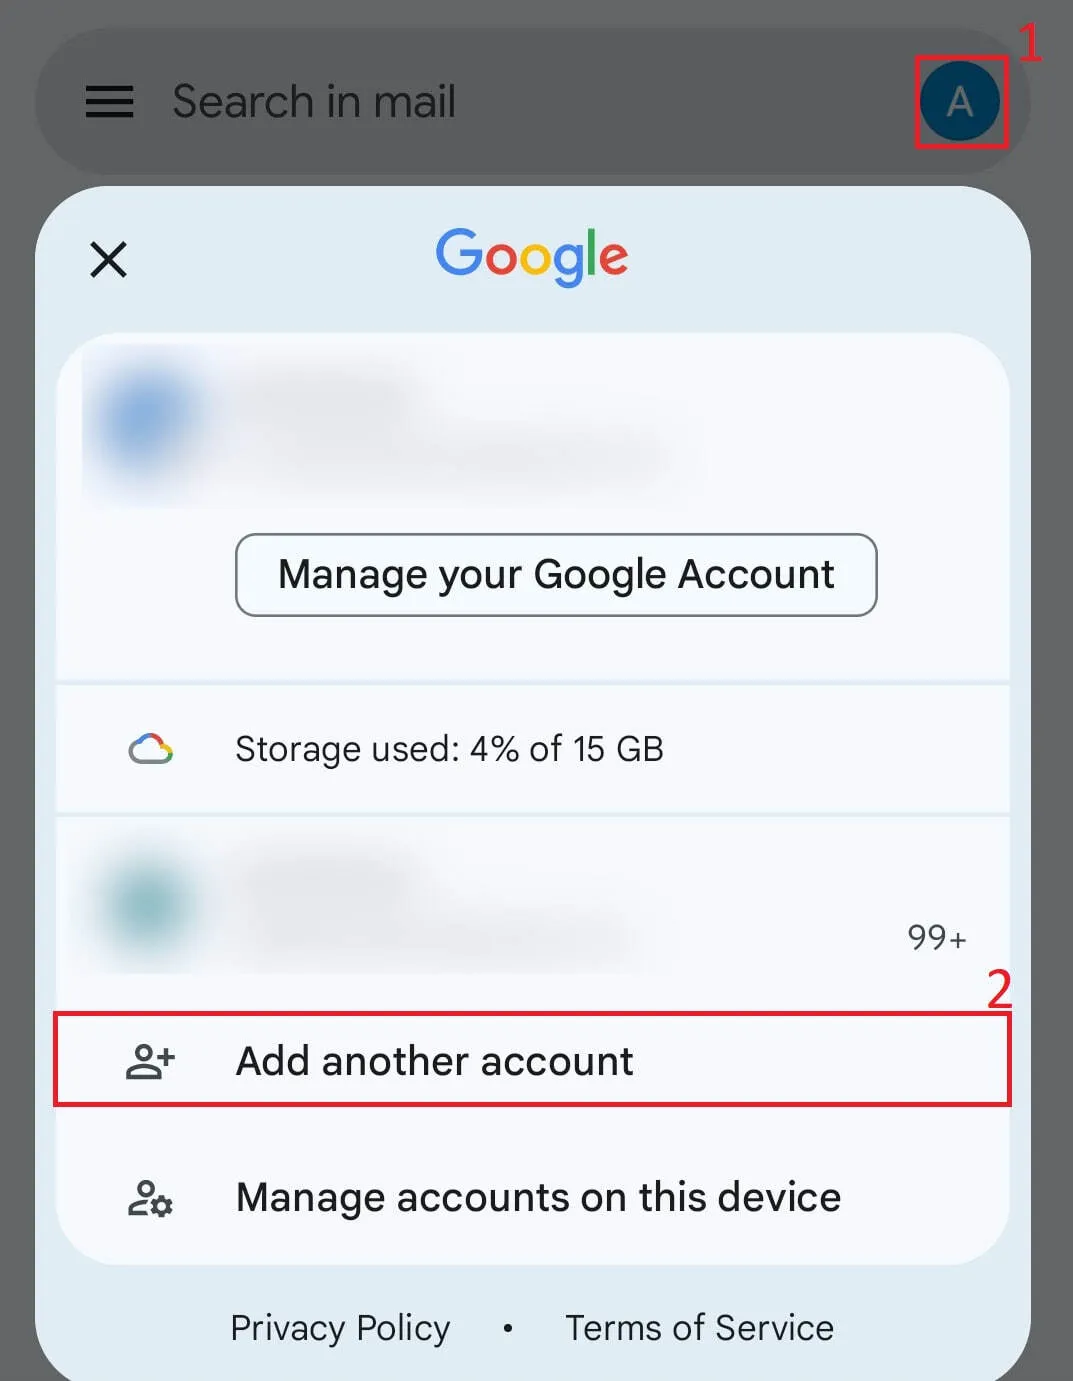
-
Choose your email service provider (Google, Yahoo, Outlook, etc.), then input your email address and password for the account.
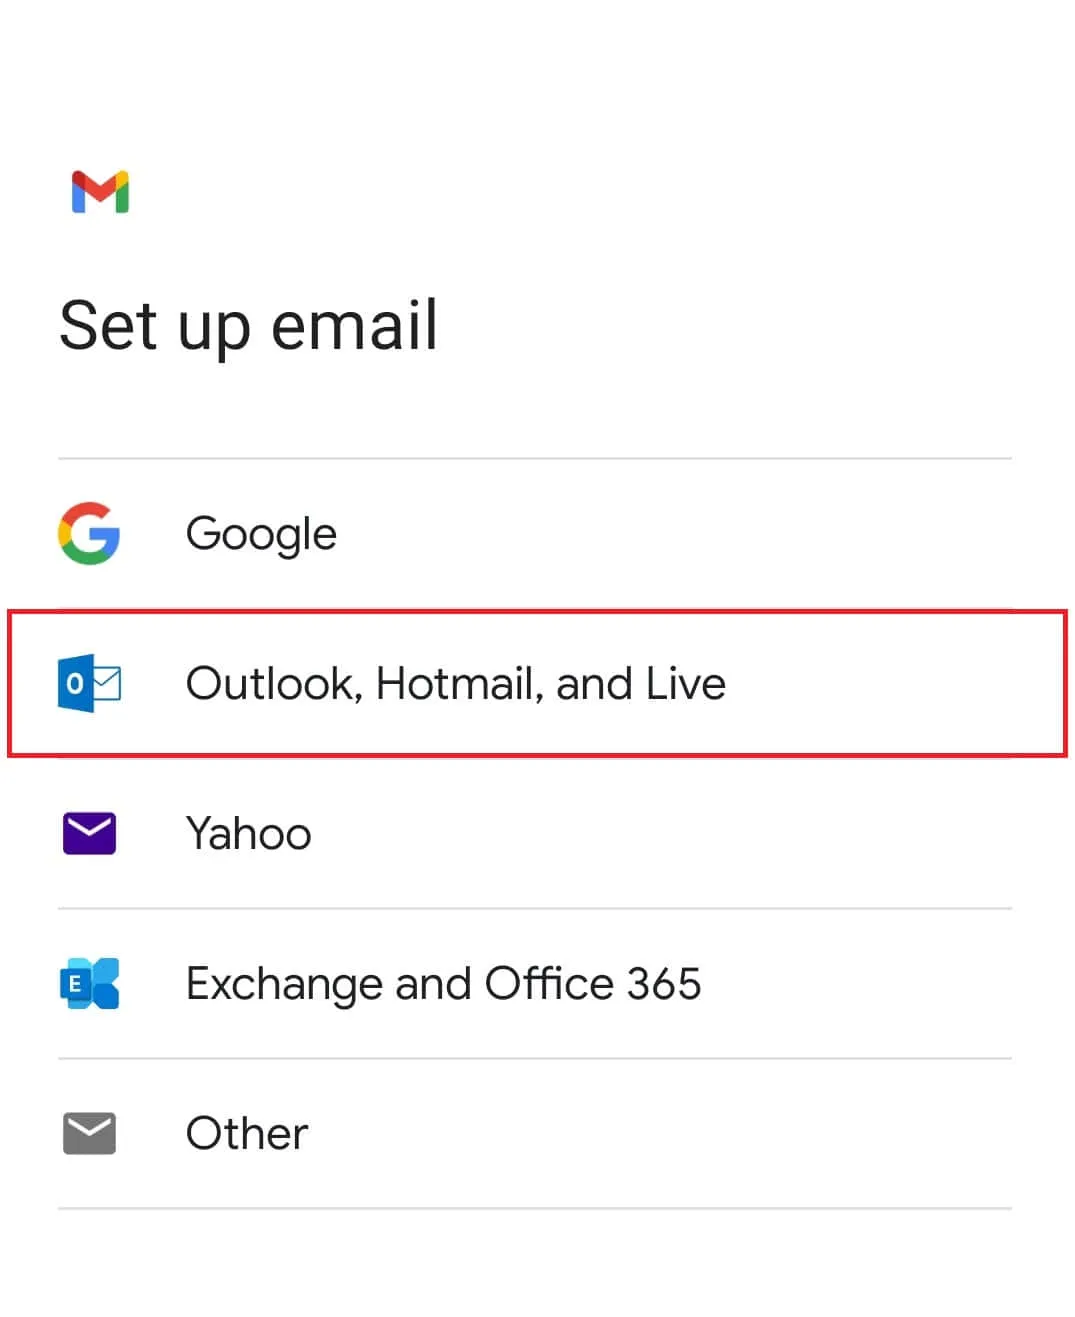
-
Grant the Gmail app permission to access your email account.
Setting Up Email Accounts from Dedicated Servers or Specific Providers
If your email service provider isn’t listed when setting up a new account (such as AOL Mail, GMX, Yandex, Mail.com, Zaho Mail, etc.), or if you’re configuring an account from a dedicated server, follow these steps:
-
Open the Gmail app, select to set up a new account, and choose the “Other” option.
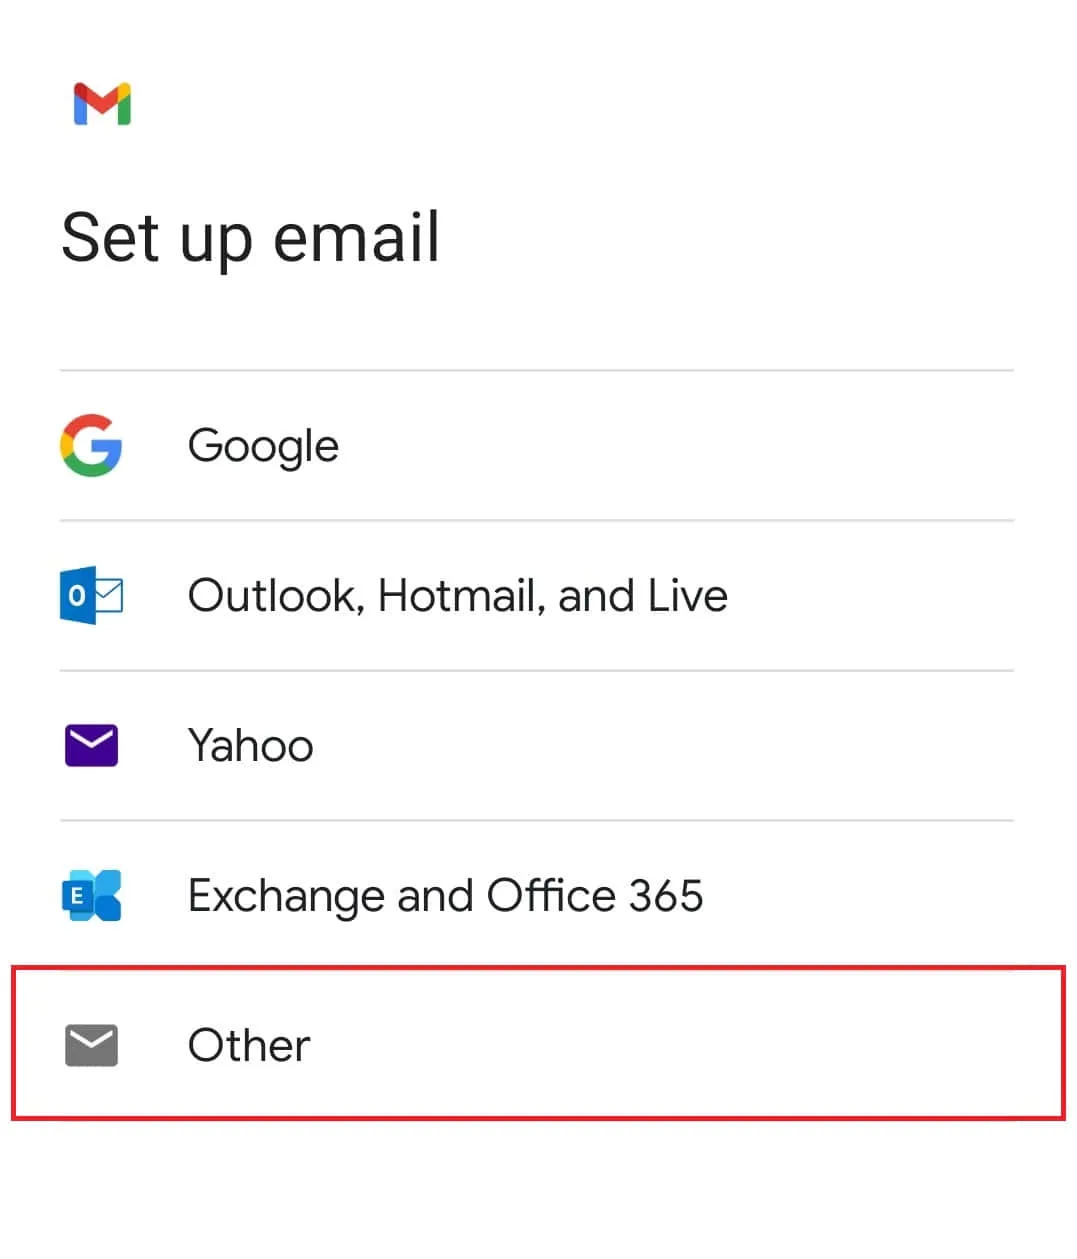
-
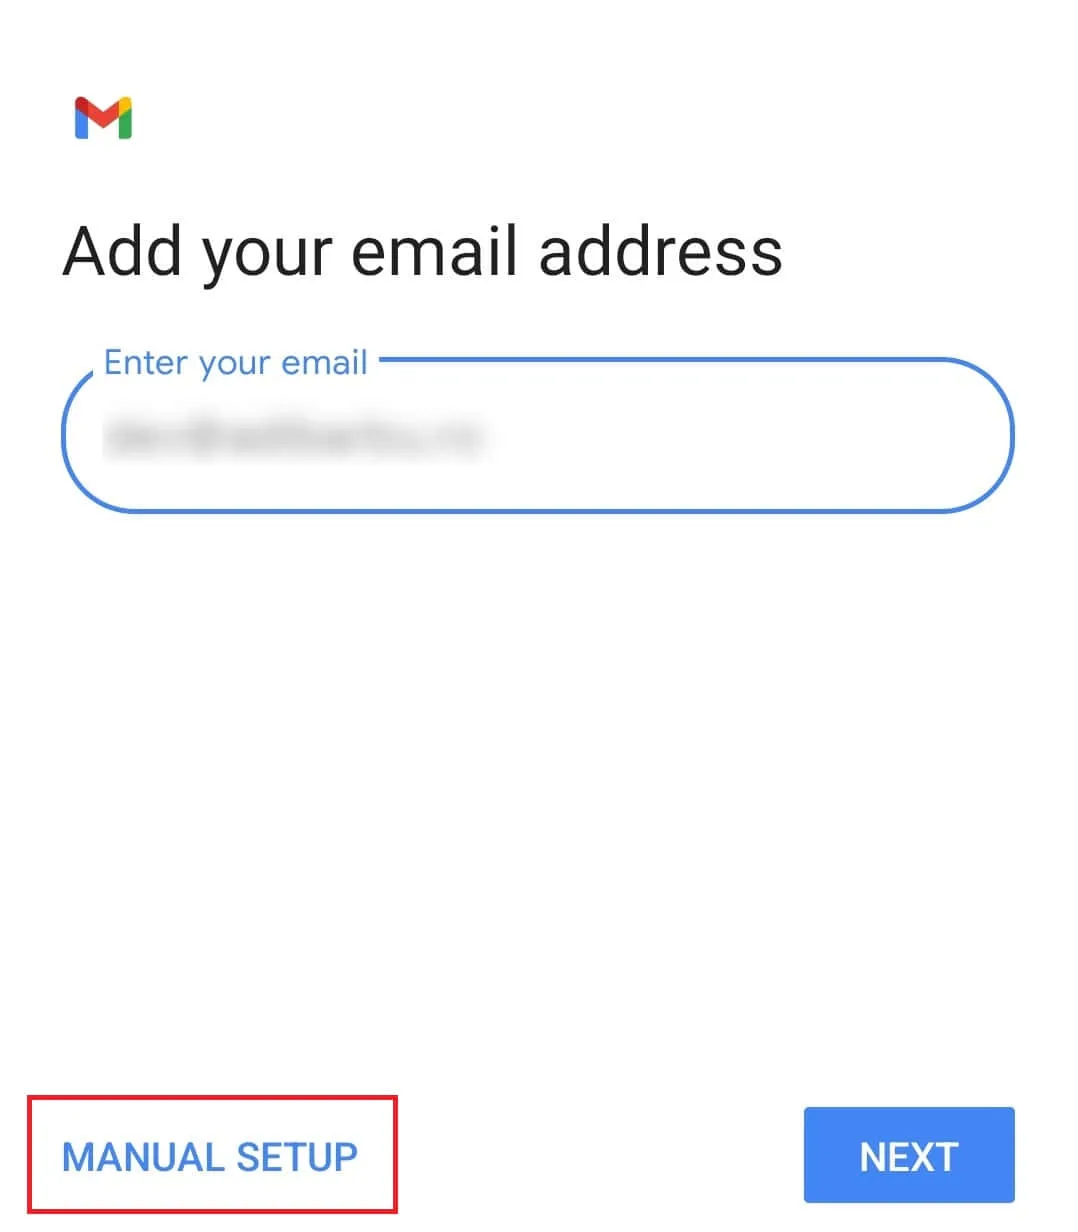
Enter your email address and then tap the manual configuration button.
-
Select the Personal (IMAP) option as the account type to copy emails from the server to the email client while maintaining them separately on the server. Alternatively, you can choose the Personal (POP3) option, but this will permanently move new emails from the server to the device, storing them solely on the device.
-
Enter your email account password once. The password will be saved, eliminating the need to input it each time you access the email account.
-
The email server configuration will be automatically filled in. If the actual server differs from the one filled in, update it and tap Next to proceed.
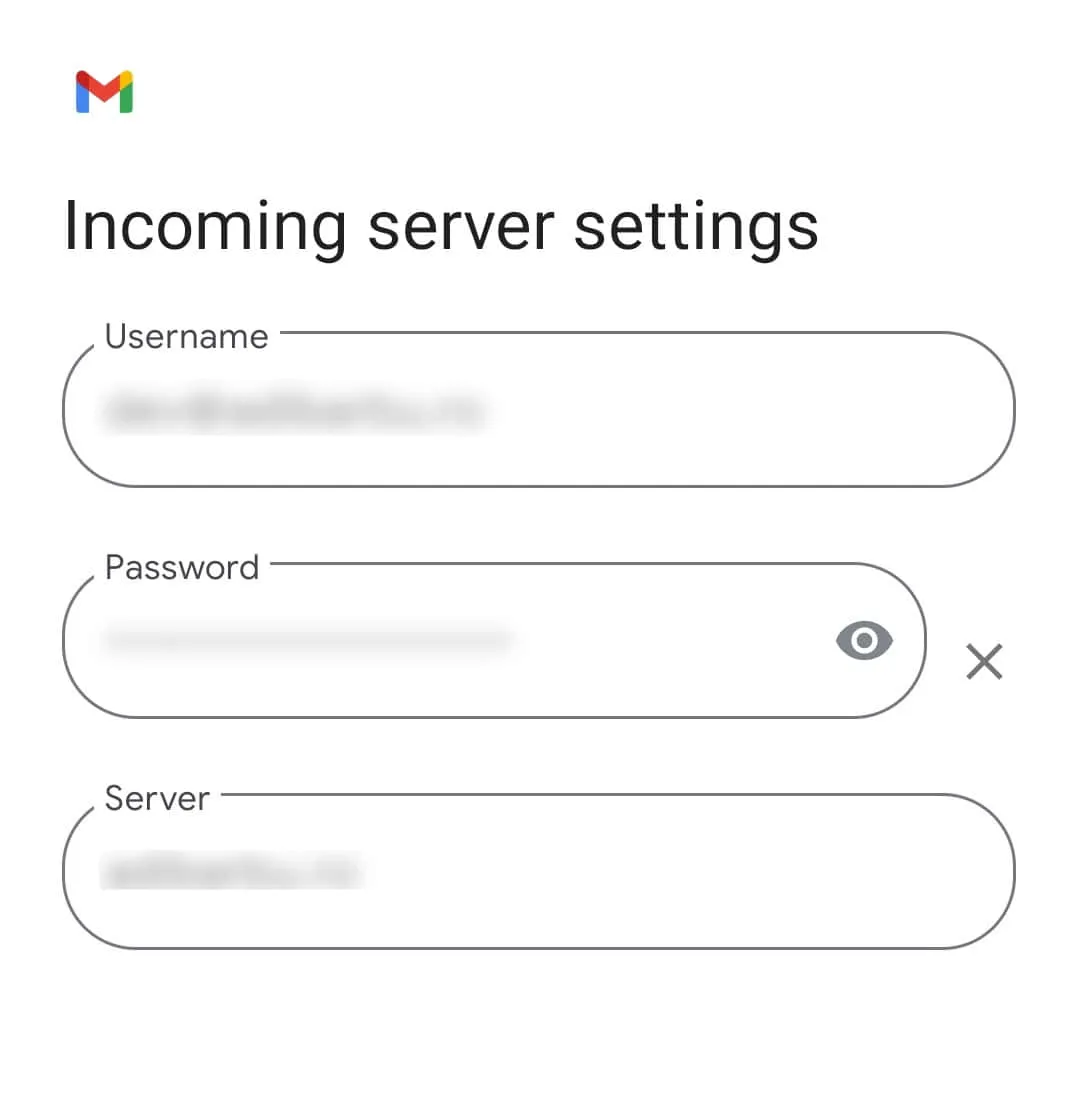
The internal configuration, including Incoming and Outgoing SMTP ports, will be retrieved from the server. If a connection cannot be established, you’ll need to manually input both ports and set the accepted security protocol as provided by the email service provider or network administrator.
-
Tap the Next button to accept the default settings and finnish the account configuration.
Managing Configured Accounts
To access email folders like Sent, Received, Updates, etc., tap the account button located typically in the top left corner. It’s often represented by three horizontal parallel lines or the initial of the account name. Then, select the desired folder.
To compose a new email, tap the Compose button positioned in the bottom right corner.
You can set up multiple email accounts in the Gmail app. To switch between accounts, tap the account button and choose the account you wish to switch to.
Setting up email on your Android device is a straightforward process, particularly since you have the Gmail app already installed.
Once your account is set up, you’ll have the convenience of checking your email on your phone or tablet. You can view your inbox, read and compose emails, and manage your email account effortlessly. Importantly, you’ll receive notifications whenever you receive a new email.
